Flagstone Walkway Installation
Flagstone walkway installation transforms ordinary outdoor spaces into inviting pathways, adding both beauty and functionality to your landscape. This comprehensive guide delves into every stage of the process, from initial planning and design to the final finishing touches. We’ll explore various design options, practical installation techniques, and essential maintenance tips to help you create a stunning and durable flagstone walkway that enhances your property for years to come. Whether you’re a seasoned DIY enthusiast or a beginner tackling your first landscaping project, this guide provides the knowledge and step-by-step instructions you need for success.
From selecting the perfect flagstone pattern and ensuring proper drainage to mastering the art of laying stones and sealing the finished walkway, we cover all the crucial aspects. We’ll also address safety considerations and provide helpful tips for maintaining your new walkway’s beauty and longevity. Get ready to embark on a journey of creating a beautiful and functional addition to your outdoor living space!
Planning & Design: Flagstone Walkway Installation
Careful planning and design are crucial for a successful flagstone walkway installation. This section Illustrates the steps involved in creating a visually appealing and functional walkway that complements your backyard.
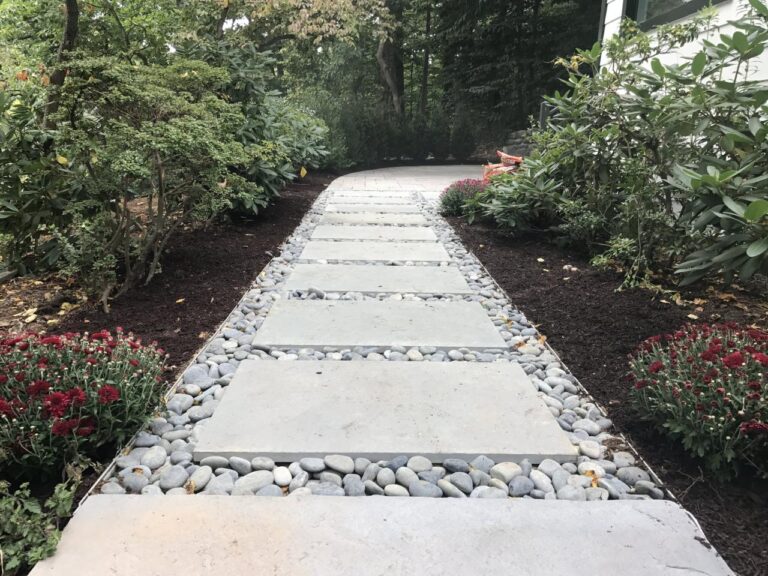
Flagstone Walkway Layout Design
For a small backyard, a 10ft x 3ft flagstone walkway with a gentle curve is both practical and aesthetically pleasing. The curve could start at one end, gently sweeping across the walkway’s length before straightening out for the final 3ft. This design balances visual interest with ease of navigation. Dimensions can be adjusted to suit individual space constraints.
Materials List for a 10ft x 3ft Walkway

Source: storables.com
This list provides estimated quantities. Actual needs may vary depending on the flagstone size and chosen pattern.
- Flagstones: Approximately 50-60 square feet (depending on stone size and pattern chosen, allowing for waste and cuts)
- Base Material (e.g., compacted gravel): Approximately 1 cubic yard
- Edging Material (e.g., landscape timbers): 10 linear feet
- Polymeric Sand: 1-2 bags (depending on joint width and flagstone spacing)
- Compaction Tool
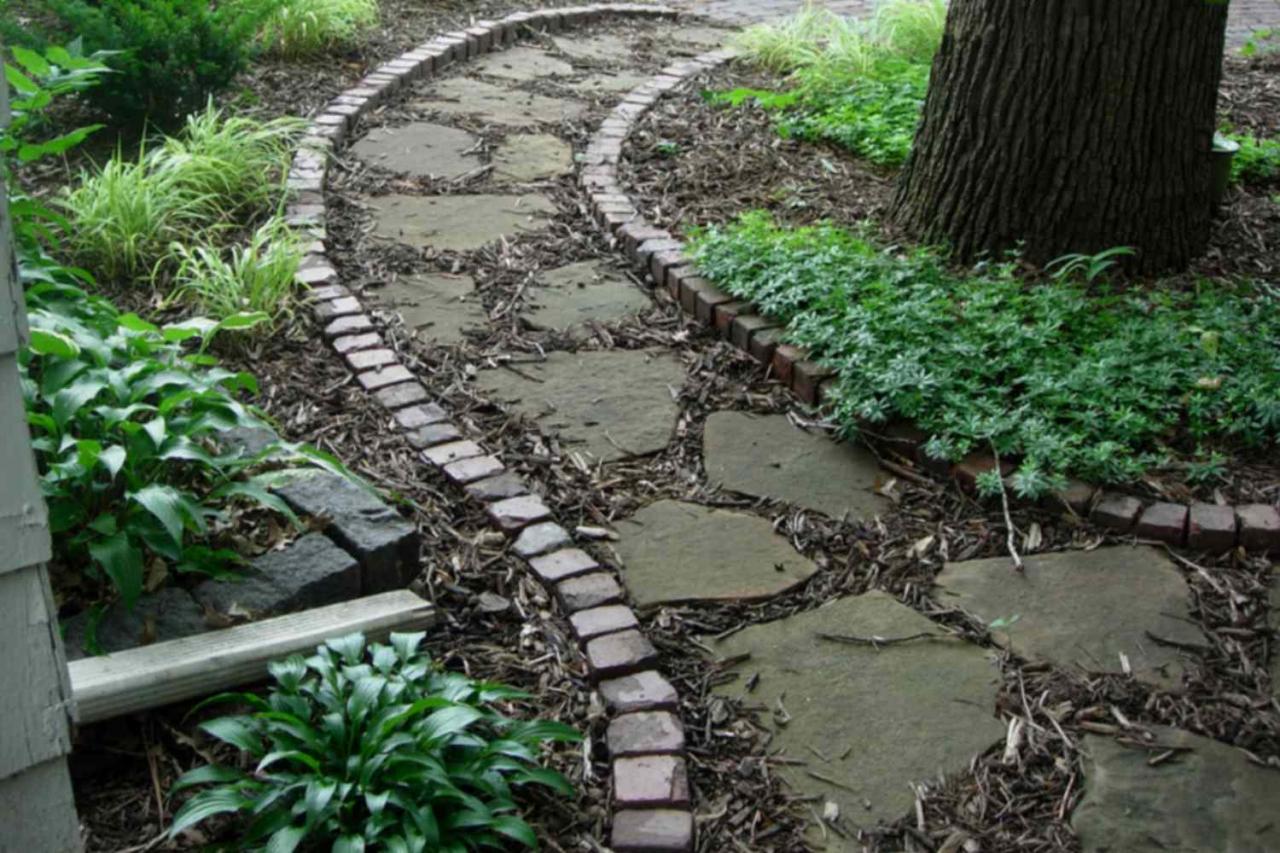
Flagstone Patterns and Visual Impact
Different flagstone patterns create unique visual effects. Here’s a comparison of three popular options:
| Pattern Name | Description | Pros | Cons |
|---|---|---|---|
| Running Bond | Stones are laid in parallel rows with staggered joints. | Simple, classic look; easy to install. | Can appear monotonous if large stones are used. |
| Herringbone | Stones are laid in a V-shaped pattern, resembling fish bones. | Visually interesting; adds texture and dynamism. | More complex to install; and requires precise cutting. |
| Basket Weave | Stones are arranged in a rectangular grid, with alternating horizontal and vertical orientations. | Unique visual appeal; suitable for larger stones. | Requires precise planning and cutting; more time-consuming. |
Creating a Scaled Drawing
Begin by measuring the area where the walkway will be installed. Use graph paper and a suitable scale (e.g., 1 inch = 1 foot) to create a scaled drawing. Sketch the desired walkway layout, including curves and straight sections. Indicate the size and placement of flagstones, paying attention to the chosen pattern. This drawing serves as a blueprint for the installation process.
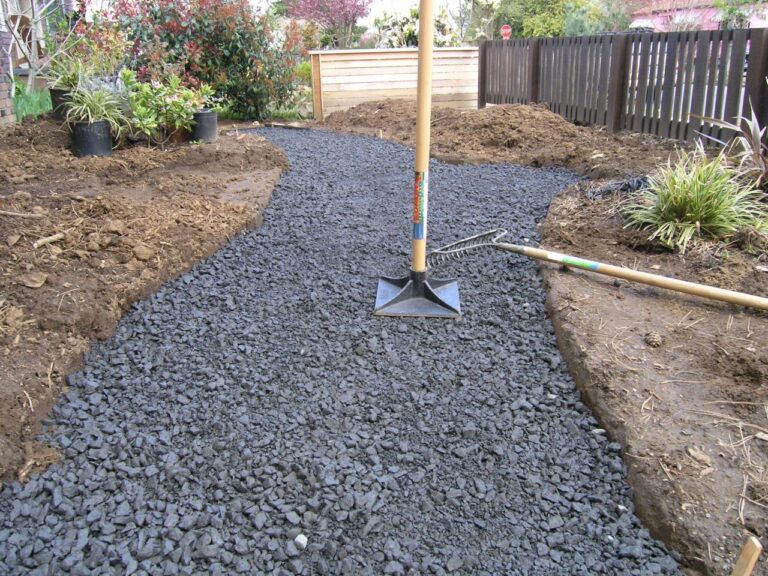
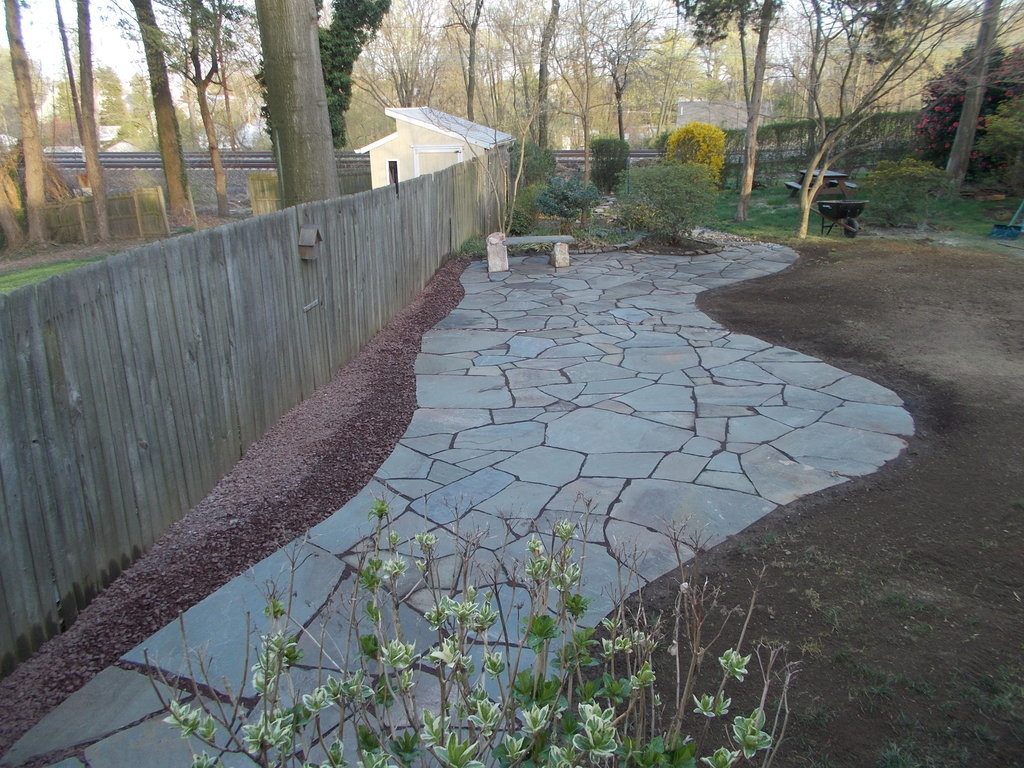
Site Preparation
Proper site preparation is essential for a durable and long-lasting flagstone walkway. This section details the steps involved in creating a stable base for your walkway.
Excavating the Area

Source: thespruce.com
Excavate the area to a depth of approximately 6-8 inches and a width slightly wider than the planned walkway (to accommodate edging and base materials). Remove any vegetation, rocks, or debris. Ensure the excavated area is level.
Soil Compaction
Proper soil compaction is crucial for preventing settling and ensuring a stable base. Use a hand tamper or plate compactor to compact the soil thoroughly. This process helps prevent future unevenness in the walkway.
Creating a Stable Base
Source: thespruce.com
Several options exist for creating a stable base:
- Compacted Gravel: A layer of 4 inches of gravel, compacted thoroughly, provides excellent drainage and stability.
- Compacted Sand: A layer of 4 inches of sand, compacted, offers a simpler, less expensive option but may not be as durable as gravel.
- Gravel and Sand Combination: A layer of compacted gravel topped with a layer of compacted sand can combine the best features of both.
Drainage System Design, Flagstone walkway installation
Source: devineescapes.com
To prevent water accumulation, create a slight slope (approximately 1-2% grade) across the walkway to direct water away from the house or other structures. Ensure proper drainage around the walkway to prevent water pooling. Consider using perforated pipe under the gravel base in areas with poor drainage.
Installation Process
This section guides you through the installation of your flagstone walkway, emphasizing techniques for achieving a professional finish.
Laying Flagstones
Begin by laying out the flagstones according to your chosen pattern, and dry-fitting them before applying mortar or setting bed. Use a rubber mallet to gently tap the stones into place. Cut stones as needed using a masonry saw or angle grinder to achieve a seamless fit. Ensure that joints are consistent in width.
Using Polymeric Sand
Once the flagstones are in place, sweep polymeric sand into the joints. This sand hardens when wet, locking the stones together and preventing weed growth. Follow the manufacturer’s instructions for application and curing time. After curing, sweep away any excess sand.
Tools and Equipment Checklist

Source: pinimg.com
- Shovel
- Hand Tamper or Plate Compactor
- Measuring Tape
- Masonry Saw or Angle Grinder
- Rubber Mallet
- Level
- Wheelbarrow
- Broom
- Polymeric Sand
- Edging Materials
Edging Material Comparison
| Material | Cost | Durability | Aesthetics |
|---|---|---|---|
| Brick | Moderate | High | Classic, versatile |
| Metal | High | Very High | Modern, clean lines |
| Landscape Timbers | Low | Moderate (requires occasional treatment) | Rustic, natural look |
Finishing Touches

Source: hiltonlandscapesupply.com
These finishing touches enhance the appearance and longevity of your flagstone walkway.
Cleaning and Sealing
After the polymeric sand has cured, thoroughly clean the walkway using a stiff brush to remove any remaining sand or debris. Apply a sealant designed for flagstone to protect the stones from weathering and staining. Follow the manufacturer’s instructions for application and drying time.
Maintenance Tips
Regular sweeping and occasional power washing will keep your walkway clean. Address weeds promptly by hand-weeding or applying a selective herbicide. Repair any damaged stones as needed by replacing them with similar stones and using polymeric sand to secure them.
Aesthetic Considerations
Choose flagstone colors and sizes that complement your existing landscaping. Consider the overall color scheme and style of your garden when selecting flagstones. Varying stone sizes can add visual interest.
Walkway Integration with Garden Features
Imagine a curved flagstone walkway, bordered by low-growing lavender and rosemary. Path lighting subtly illuminates the walkway at night, highlighting the texture of the flagstones. A small water feature near the end of the walkway adds a soothing element, with strategically placed hostas and ferns providing a lush backdrop. The overall effect is a harmonious blend of natural elements and hardscaping.
Safety Considerations
Safety is paramount during flagstone walkway installation. This section highlights essential safety measures.
Potential Hazards and Preventative Measures
Potential hazards include tripping hazards from uneven surfaces, cuts from sharp stones, and back injuries from lifting heavy materials. Prevent these by ensuring a level surface, wearing appropriate safety gear, and using proper lifting techniques.
Personal Protective Equipment (PPE)
- Safety Glasses
- Work Gloves
- Dust Mask (when using a masonry saw or working with sand)
- Steel-toed Boots
- Hearing Protection (when using power tools)
ADA Compliance
If applicable, ensure the walkway meets ADA guidelines for accessibility, including a smooth, even surface, sufficient width, and appropriate ramps or inclines for wheelchairs.
Waste Disposal
Dispose of waste materials responsibly. Separate recyclable materials from non-recyclable materials and follow local regulations for the disposal of construction debris.
Clarifying Questions
What is the average cost of flagstone walkway installation?
The cost varies significantly based on factors such as flagstone type, walkway size, labor costs, and location. It’s best to obtain multiple quotes from local contractors for an accurate estimate.
How long does a flagstone walkway last?
With proper installation and maintenance, a flagstone walkway can last for decades, even a century or more. The lifespan depends on the quality of the materials and the environmental conditions.
Can I install a flagstone walkway myself?
Yes, with sufficient DIY experience and careful planning, it is possible. However, for larger or more complex projects, hiring a professional installer is often recommended.
How do I choose the right type of flagstone?
Consider factors like durability, color, texture, and your budget. Visit local stone suppliers to view samples and get advice on suitability for your climate and soil conditions.
What is the best time of year to install a flagstone walkway?
Spring or fall are generally ideal, as the ground is usually neither too frozen nor too dry. Avoid extreme temperatures.