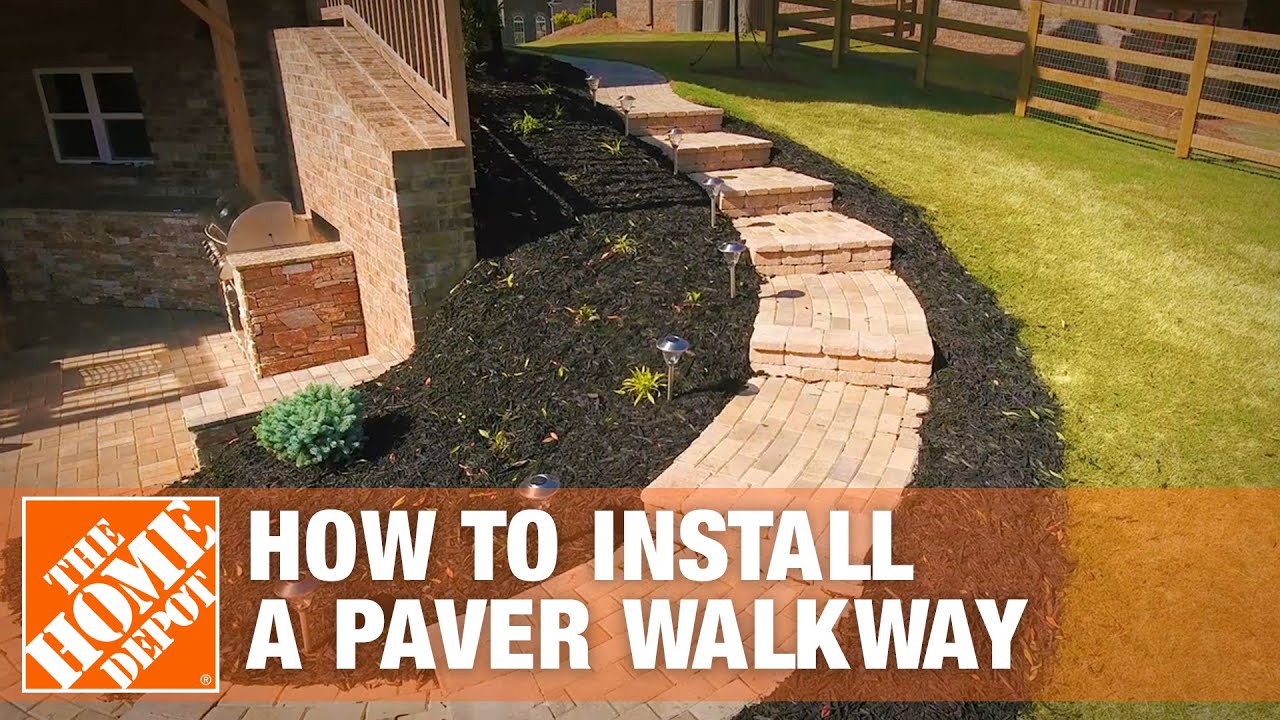
Laying A Paver Walkway
Laying a paver walkway transforms ordinary outdoor spaces into inviting pathways. This guide delves into every aspect of this rewarding project, from initial design and meticulous planning to the final touches that create a stunning, durable walkway. We’ll explore various paver types, installation techniques, and landscaping considerations to help you craft a walkway that perfectly complements your home’s aesthetic and enhances your outdoor living experience. Whether you’re a seasoned DIY enthusiast or a first-time builder, this comprehensive guide provides the knowledge and confidence to complete your project.
From selecting the ideal paver pattern and calculating material quantities to mastering the intricacies of base preparation and paver installation, we will cover every step in detail. We will also discuss the importance of proper drainage, edging techniques, and joint filling for a long-lasting and visually appealing walkway. Furthermore, we’ll explore the benefits and drawbacks of different paver materials, enabling you to make informed decisions that align with your budget and design preferences.
Planning & Design
Creating a beautiful and functional paver walkway begins with careful planning and design. This section Articulates the process of designing a walkway layout, calculating material needs, and selecting an appropriate paver pattern.
Walkway Layout Design for a 10ft x 20ft Area
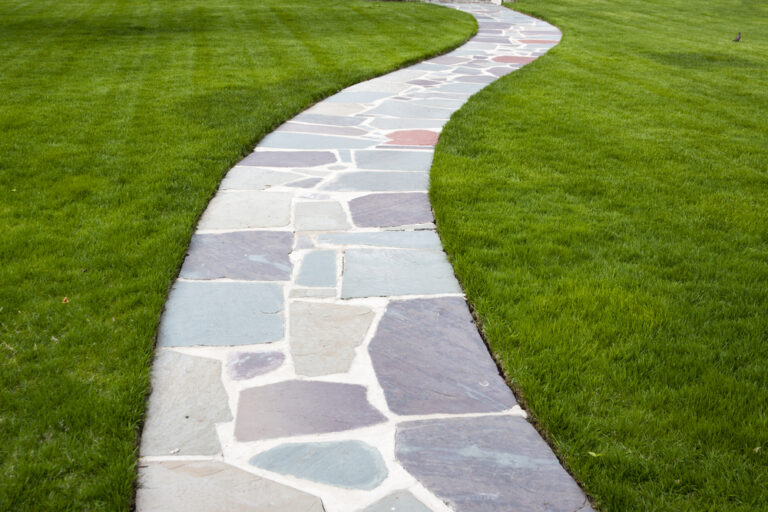
For a 10ft x 20ft area, a design incorporating both curves and straight sections can add visual interest. Consider a gentle curve at one end leading to a straight pathway through the center. This could be further enhanced with slightly wider sections near seating areas or focal points. The specific layout will depend on the surrounding landscape and the desired aesthetic. A detailed sketch should be created, showing dimensions, curve radii, and the placement of any features.
Material Calculations and Waste Allowance
Accurate material calculation is crucial to avoid shortages or excessive waste. To determine the number of pavers needed, first calculate the area of the walkway. For example, a 10ft x 20ft rectangular walkway has an area of 200 sq ft. Next, determine the area of a single paver. Common paver sizes include 12″ x 12″, 18″ x 18″, etc. Convert these measurements to feet for consistency (e.g., 12″ = 1ft). Divide the total walkway area by the area of a single paver to estimate the number of pavers needed. Always add a 10-15% waste allowance to account for cuts, breakage, and potential errors. This ensures you have enough material to complete the project.
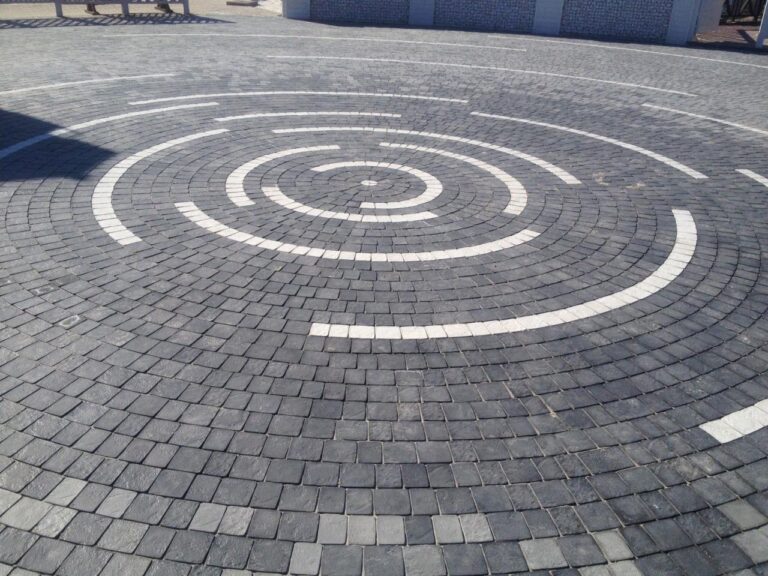
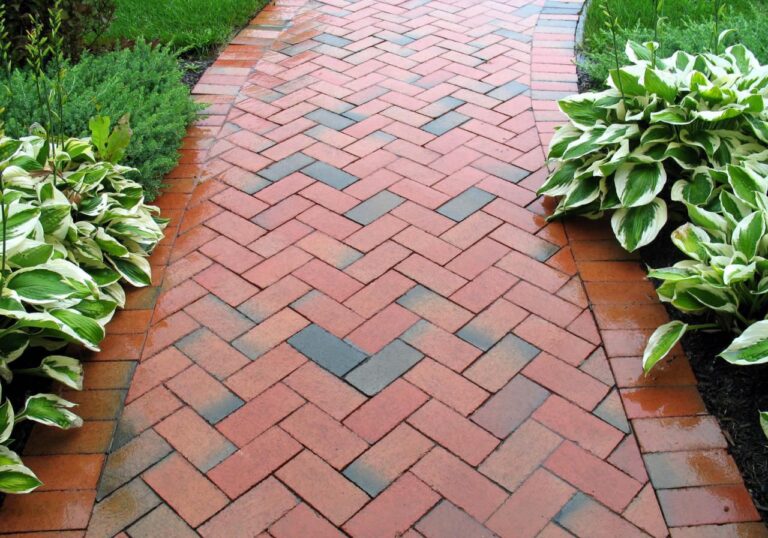
Paver Patterns: Comparison
Different paver patterns offer unique visual appeal and performance characteristics. Three common patterns are herringbone, running bond, and basketweave. The choice depends on personal preference and the overall design aesthetic.
| Pattern | Description | Advantages | Disadvantages |
|---|---|---|---|
| Herringbone | Pavers laid in a zig-zag pattern, resembling fishbones. | Visually striking, adds texture. | More complex to install, and requires more precise cuts. |
| Running Bond | Pavers are laid in parallel rows with offset joints. | Simple to install, efficient use of materials. | Can appear less visually interesting than other patterns. |
| Basketweave | Pavers are laid in a rectangular grid pattern, often with two pavers forming a rectangular unit. | Strong visual appeal, relatively easy to install. | Requires more pavers than running bond. |
Site Preparation
Proper site preparation is fundamental to a durable and long-lasting paver walkway. This involves excavating the ground to the correct depth, creating a stable base, and addressing any slope or unevenness.
Ground Excavation
Excavation depth depends on the paver thickness and the base material used. A typical depth is 6-8 inches, including 4 inches for the base and 2-4 inches for the pavers. The width should be slightly wider than the paver walkway to allow for edging. Remove any vegetation, rocks, or debris from the excavation area.
Base Preparation: Compaction and Gravel Layers
A well-compacted base is crucial for preventing settling and ensuring the walkway’s longevity. Typically, a 4-inch layer of compacted gravel is used. This is followed by a layer of compacted sand (1-2 inches) to provide a level and stable surface for the pavers. Proper compaction using a plate compactor is essential at each layer to ensure stability.
Managing Slopes and Uneven Terrain

Source: pinimg.com
For sloped areas, create a level base by excavating and adding fill material as needed. This might involve creating retaining walls or using terraced steps to manage significant elevation changes. For uneven terrain, carefully level the base using a screed and level, ensuring a consistent surface for paver installation.
Paver Installation: Laying A Paver Walkway
Laying pavers requires precision and attention to detail. This section provides a step-by-step guide to ensure a professional finish.
Step-by-Step Paver Laying Guide
- Lay out string lines to guide the first row of pavers. Ensure the lines are straight and level.
- Set the first row of pavers, ensuring they are aligned and level with the string lines. Use a level and rubber mallet to adjust paver placement.
- Continue laying pavers, maintaining consistent spacing and alignment. Use spacers to ensure uniform gaps between pavers.
- Check alignment frequently with a straight edge and level. Adjust as needed.
- Compact the pavers lightly after each few rows to prevent settling.
Cutting Pavers for Curves and Edges
Source: thespruce.com
Several methods exist for cutting pavers, including using a wet saw, a masonry chisel, and hammer, or a specialized paver cutter. A wet saw provides the cleanest cut, ideal for curves. For less precise cuts, a chisel and hammer can be used but this may result in more irregular edges. Always wear safety glasses and gloves when cutting pavers.
Essential Tools and Equipment
- Shovel
- Plate compactor
- Level
- Rubber mallet
- String line
- Measuring tape
- Paver spacers
- Wheelbarrow
- Wet saw (or other paver-cutting tool)
- Gloves and safety glasses
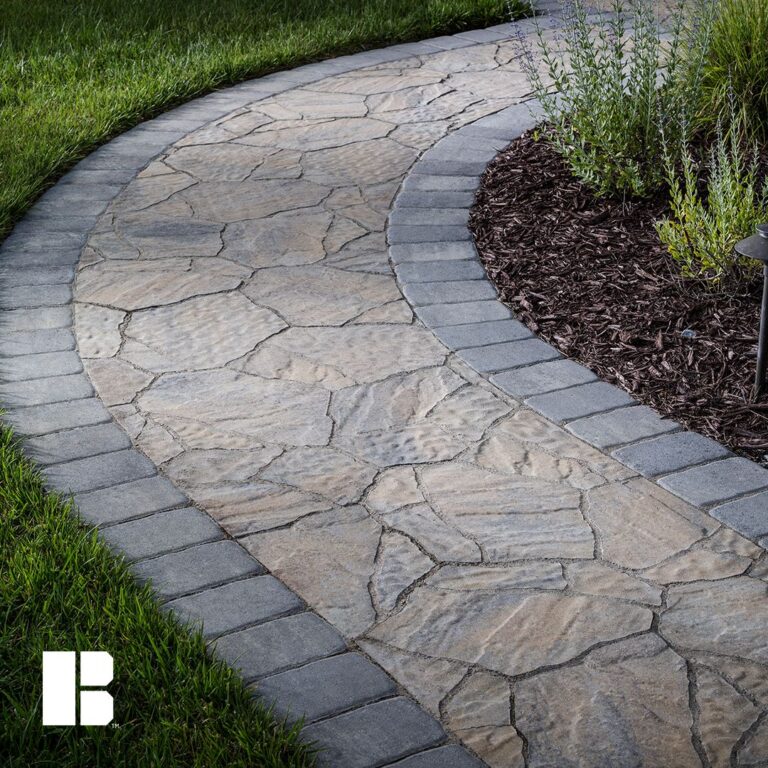
Edging & Finishing
Proper edging and joint filling are crucial for a neat and durable walkway. This section details the process of creating a professional finish.
Edging Materials and Installation
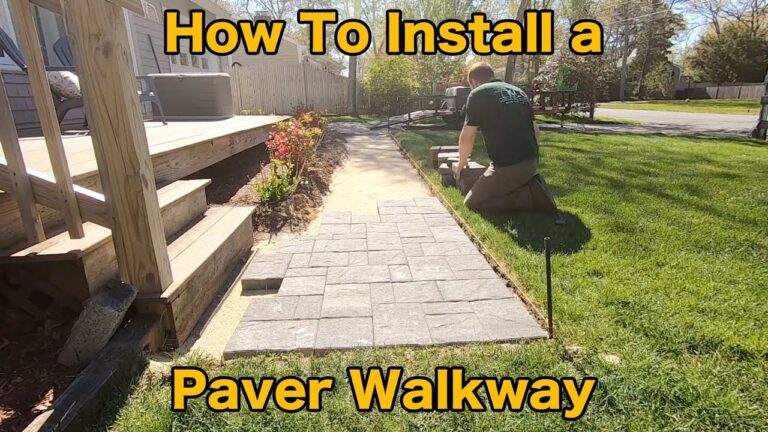
Source: ytimg.com
Several edging materials are available, each with advantages and disadvantages. Concrete edging provides strength and durability but can be more labor-intensive to install. Metal edging offers a clean, modern look but can be susceptible to rust. Plastic edging is economical and easy to install but may not be as durable. The choice depends on budget, aesthetic preferences, and the walkway’s location.
Creating a Neat Finish, Laying a paver walkway
Ensure the edging is installed level and straight, creating a clear boundary around the walkway. Use a tamper or hand tamper to firmly compact the soil around the edging to prevent shifting. Make sure the edging is firmly embedded into the ground and flush with the pavers.
Joint Filling with Polymeric Sand
Polymeric sand is used to fill the joints between pavers, preventing weed growth and providing stability. Sweep the sand into the joints, ensuring complete coverage. Lightly mist the sand with water to activate the polymer and allow it to cure according to the manufacturer’s instructions. After curing, thoroughly sweep away any excess sand.
Walkway Variations & Considerations
This section explores different paver materials and design considerations to enhance the walkway’s aesthetic and functionality.
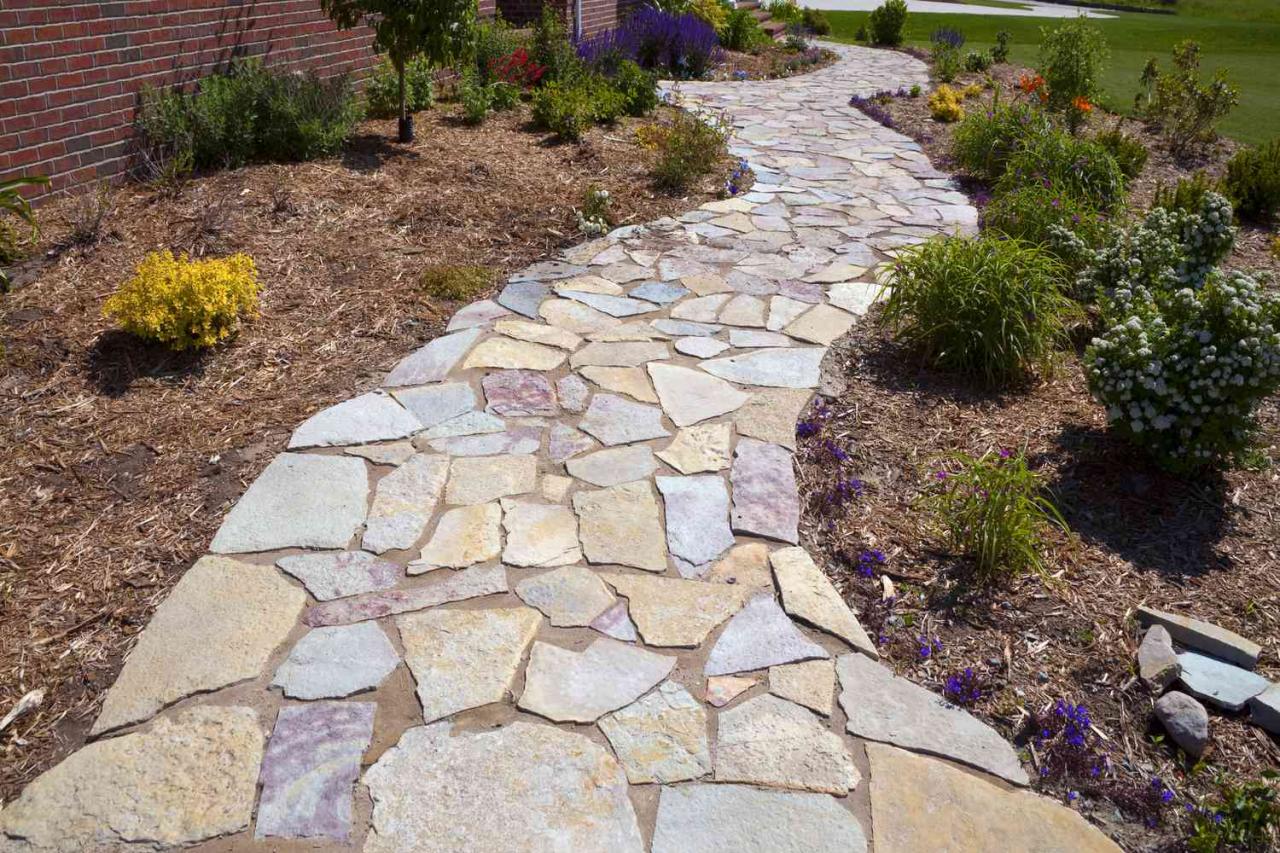
Paver Material Comparison

Source: paversdrivewaysva.com
| Material | Cost | Durability | Aesthetics |
|---|---|---|---|
| Concrete | Low to moderate | High | Versatile, various colors and textures are available |
| Brick | Moderate to high | High | Classic, warm appearance |
| Natural Stone | High | Very high | Unique, natural appearance; wide variety of colors and textures |
Walkway Drainage

Source: vulcandc.com
Proper drainage is essential to prevent water accumulation and damage to the walkway. Ensure the base is sloped slightly away from structures to allow water to drain. Consider adding drainage channels or gravel beds along the sides of the walkway to further improve drainage.
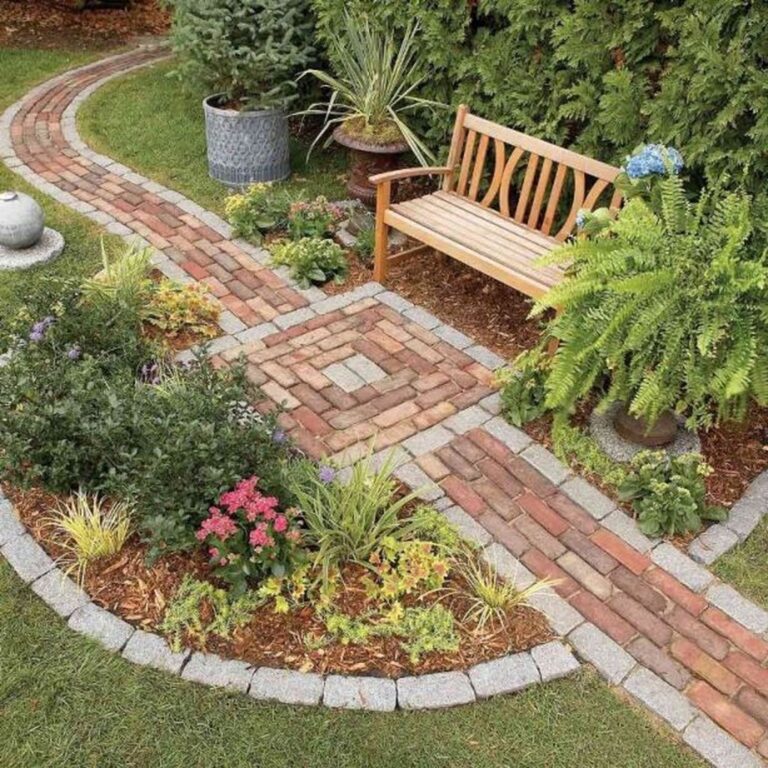
Landscaping Integration
Imagine a walkway bordered by low-growing shrubs like lavender or boxwood, creating a soft, natural frame. Larger plants, such as hostas or ferns, could be strategically placed along the sides, adding height and texture. A border of river rock or mulch could further enhance the visual appeal, providing a clean separation between the walkway and the surrounding landscape. The specific plants and materials chosen should complement the paver color and the overall style of the landscape.
Helpful Answers
What is the average lifespan of a paver walkway?
With proper installation and maintenance, a paver walkway can last for 20-30 years or even longer.
How much does it cost to install a paver walkway?
The cost varies greatly depending on the size, materials chosen, and labor costs. Expect a range from a few hundred to several thousand dollars.
Can I install a paver walkway myself?
Yes, with careful planning and following instructions, many DIYers successfully install paver walkways. However, for large or complex projects, professional help might be beneficial.
How often should I clean my paver walkway?
Regular sweeping and occasional power washing will keep your walkway looking its best. Frequency depends on local conditions and foot traffic.
What type of sand is best for paver joints?
Polymeric sand is recommended for its strength and ability to prevent weed growth.