Paver Path Installation
Paver path installation transforms outdoor spaces, adding both beauty and functionality. From initial planning and design, considering factors like material selection and layout aesthetics, to the meticulous process of excavation, base preparation, and paver placement, creating a lasting paver path requires careful attention to detail. This guide delves into each stage, providing practical advice and insights to help you achieve a stunning and durable result, whether you’re a seasoned DIY enthusiast or a novice embarking on your first landscaping project. We’ll explore various design options, material choices, and installation techniques, ensuring you know how to navigate every step of the process with confidence.
This comprehensive guide covers everything from initial site assessment and design considerations to the final finishing touches and ongoing maintenance. We’ll explore different paver materials, delve into the intricacies of base preparation, and provide step-by-step instructions for the installation process. We’ll also address common problems and offer solutions to ensure your paver path stands the test of time.
Planning & Design

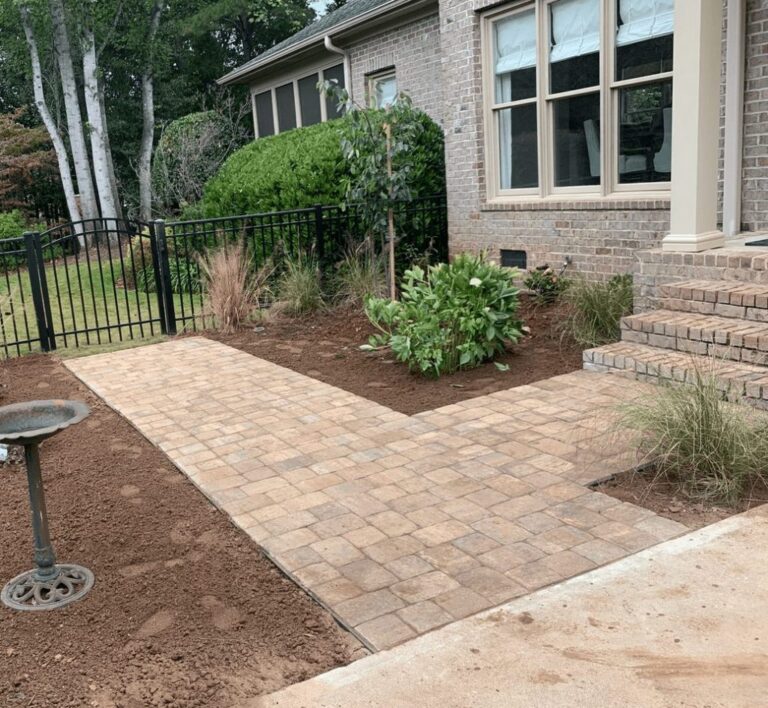
Source: westerninterlock.com
Careful planning and design are crucial for a successful paver path installation. This section details the steps involved, from site assessment to choosing materials and laying out the design.
Site Assessment and Design Considerations

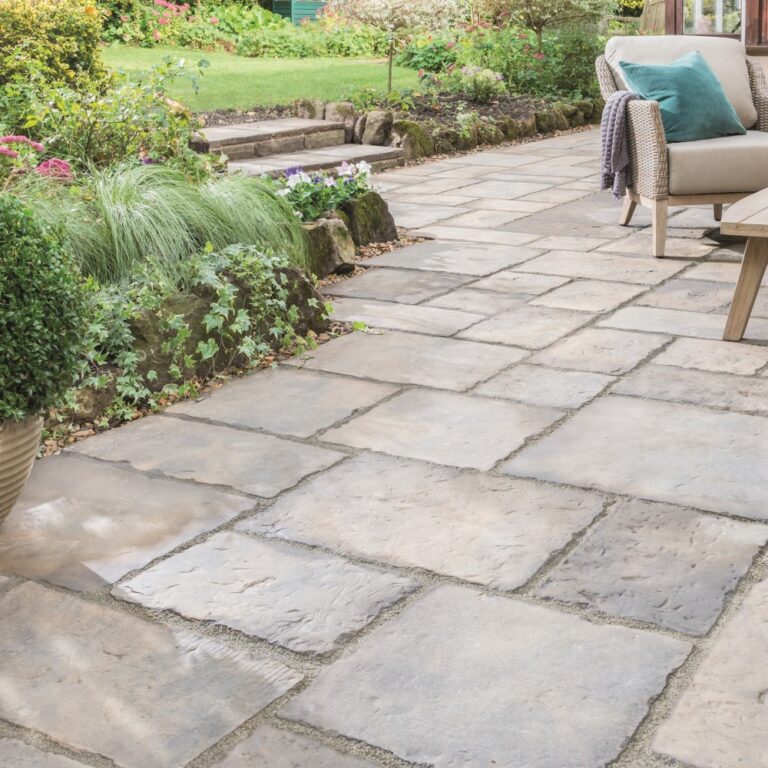
Source: dreamstime.com
Before starting, a thorough site assessment is necessary. This includes measuring the area, identifying existing features like trees or underground utilities, and analyzing the soil conditions. The design should consider the path’s intended use, the surrounding landscape, and the overall aesthetic. Factors such as sun exposure, drainage, and potential for frost heave should also be considered.
Paver Material Selection
Various paver materials are available, each with its properties and suitability for different applications. Common choices include concrete pavers, brick pavers, and natural stone pavers. Concrete pavers offer durability and affordability, while brick pavers provide a classic look. Natural stone pavers, such as granite or bluestone, offer a more luxurious and high-end appearance, but they are typically more expensive.
Paver Path Layouts
Three different layouts for a 10x20ft area are presented below, showcasing diverse aesthetic options. The designs illustrate the versatility of paver paths and their ability to complement various landscaping styles.
| Layout | Description | Pros | Cons |
|---|---|---|---|
| Straight Path | A simple, straight path running the length of the area. | Easy to install, cost-effective, clean lines. | Can appear less visually interesting than curved paths. |
| Curved Path | A gently curving path that meanders through the area. | More visually appealing, softer look, can incorporate more landscape features. | More complex installation, potentially higher material costs due to cutting. |
| Path with Planters | A straight path with integrated planters on either side, adds greenery. | Combines hardscape and softscape elements, creating a more inviting space. | Requires additional planning and materials for the planters, and increased installation time. |
Site Preparation
Proper site preparation is fundamental to a long-lasting paver path. This involves excavating, grading, compacting the ground, and creating a stable base.
Excavation and Ground Preparation
The first step is to excavate the area to the required depth, typically 6-8 inches. This involves removing existing vegetation, topsoil, and any loose or unstable soil. The excavated area should then be graded to ensure a level surface, with a slight slope for proper drainage. Compaction using a plate compactor is crucial to prevent settling and ensure stability.
Base Preparation
A well-prepared base is essential for the longevity of the paver path. It distributes weight evenly, prevents settling, and ensures proper drainage. A typical base consists of two layers: a gravel base and a sand bedding layer.
Creating a Stable Base
The gravel base, typically 4 inches deep, provides drainage and structural support. It should be compacted thoroughly. The sand bedding layer, usually 1-2 inches deep, provides a level surface for the pavers. It should be leveled and compacted before paver installation.
- Gravel (4 inches)
- Sand (1-2 inches)
- Plate compactor
- Shovel
- Rake
- Level
Paver Installation: Paver Path Installation
The paver installation process requires precision and attention to detail. Proper alignment, spacing, and cutting techniques are crucial for a professional finish.
Paver Laying Process
Pavers should be laid starting from a straight edge, ensuring proper alignment and spacing between each paver. Use a string line as a guide for straight paths. For curved paths, use flexible edging to create the curve and lay the pavers accordingly. Maintain consistent spacing using spacers to ensure uniform gaps for joint filling.
Cutting Pavers
A wet saw is typically used to cut pavers to fit around curves and obstacles. Precise cuts are important for a clean and professional finish. Always wear appropriate safety gear when using power tools.
Creating Stable Edges, Paver path installation
Edging materials create a clean and defined edge for the paver path, preventing pavers from shifting and improving the overall aesthetics. Various options are available, each with its own cost and benefits.
| Edging Material | Description | Cost (Approximate) |
|---|---|---|
| Plastic Edging | Flexible and inexpensive. | $1-$3 per linear foot |
| Metal Edging | Durable and long-lasting, but more expensive. | $5-$10 per linear foot |
| Concrete Edging | Provides a strong and permanent edge. | $10-$20 per linear foot |
Joint Filling & Compaction
The joint filling is crucial for preventing weed growth, ensuring paver stability, and enhancing the overall appearance of the path. Proper compaction is equally important for a long-lasting installation.
Importance of Joint Filling
Joint filling materials fill the gaps between pavers, preventing weeds from sprouting and stabilizing the paver surface. They also help to prevent the pavers from shifting or settling unevenly over time. Common materials include polymeric sand and jointing sand.
Joint Filling Materials

Source: patiomen.com
Polymeric sand is a popular choice due to its durability and weed-resistant properties. Jointing sand is a more traditional option, but it may require more frequent maintenance to prevent weed growth. The choice depends on the budget and desired level of maintenance.
Compaction Process
After joint filling, the pavers and joint filler should be compacted to ensure a stable and long-lasting installation. A plate compactor is typically used for this purpose. Insufficient compaction can lead to various problems.
- Uneven settling
- Paver shifting
- Weed growth through gaps
- Reduced lifespan of the paver path
Finishing Touches
The final steps involve cleaning up the site, maintaining the paver path, and appreciating the finished product.
Site Cleanup

Source: net.au
After installation, remove excess materials, debris, and any leftover sand or gravel. Sweep the paver surface clean to reveal the final aesthetic.
Maintenance
Regular sweeping and occasional pressure washing will keep the paver path looking its best. Addressing any settling or shifting pavers promptly will prevent further damage. Consider sealing the pavers periodically to protect them from staining and weathering.
Visual Appeal

Source: com.au
A newly installed paver path offers a visually appealing addition to any landscape. The smooth, even surface of the pavers, combined with the chosen color and texture, creates a striking contrast against the surrounding greenery. The path’s design, whether straight, curved, or incorporating planters, contributes to the overall aesthetic appeal of the outdoor space, providing a functional and visually pleasing pathway for years to come.
Troubleshooting Common Issues

Source: home depot-static.com
Even with careful planning and execution, some problems may arise during paver path installation. This section identifies common issues and offers practical solutions.
Common Problems and Solutions
Several issues can occur, ranging from settling to shifting pavers. Early identification and prompt action are crucial for preventing larger problems.
| Problem | Cause | Solution | Prevention |
|---|---|---|---|
| Uneven Settling | Inadequate compaction of the base. | Lift and recompact the affected area, relaying the pavers. | Thorough compaction of both gravel and sand layers. |
| Paver Shifting | Insufficient joint filling or inadequate compaction. | Add joint filler and compact the area. | Use sufficient joint filler and compact thoroughly. |
| Weed Growth | Insufficient or ineffective joint filling. | Remove weeds and reapply joint filler. | Use weed-resistant joint filler and ensure complete coverage. |
Question Bank
What is the average cost of paver path installation?
The cost varies significantly depending on factors such as the size of the path, the type of pavers used, the complexity of the design, and labor costs in your region. It’s best to obtain multiple quotes from reputable contractors.
How long does a paver path installation typically take?
The timeframe depends on the project’s size and complexity. Smaller projects might be completed in a few days, while larger, more intricate designs could take several weeks.
How often should I seal my paver path?
Sealing is recommended every 2-3 years to protect the pavers from weathering and staining, prolonging their lifespan and maintaining their appearance. The specific frequency depends on climate and usage.
Can I install a paver path myself?
While possible for smaller, simpler projects, larger or complex installations often benefit from professional expertise to ensure proper base preparation, alignment, and longevity. Assess your skill level and the project’s complexity before deciding.
What types of pavers are best for high-traffic areas?
Durable materials like concrete pavers or natural stone are ideal for high-traffic areas due to their strength and resistance to wear and tear. Consider the thickness and density of the pavers for optimal performance.